


Install Stable Diffusion XL Locally on MacOS
DALL-E & Midjourney are great but free is better.

Hey y’all!
The more well-known image-generating tools out there are OpenAI (DALL-E) and Midjourney but sadly they aren’t free and so your ability to experiment rapidly is limited by cost. As a fan of open source I naturally wanted to find and use a tool that not only gave similar outcomes but that wasn’t limited by my wallet.
Stable Diffusion is one such tool but it isn’t easy to install if you’re not technical and after helping a few friends put it together I thought it would be useful to share the process, step-by-step, so that you can start designing without limitation.
In addition, Stable Diffusion XL is even more flexible and customizable right out of the box! There are a few other tools like Automatic111 and Comfyanonymous that have decent web-based user interfaces but I’ve found greater success using Fooocus.
So, we’ll start there!
✌(-‿-)✌

First, head to the open source project and you’ll find some instructions for installing on MacOS and if you’re technical you’ll probably have little trouble getting it to boot.
But, if you’re not, you’re going to have to install a number of additional developer tools that you won’t be familiar with.
You’ll need to first install PyTorch (above) and then a Package Manager called Anaconda. There are specific instructions based on whether you have an Intel-based Mac or an M1:
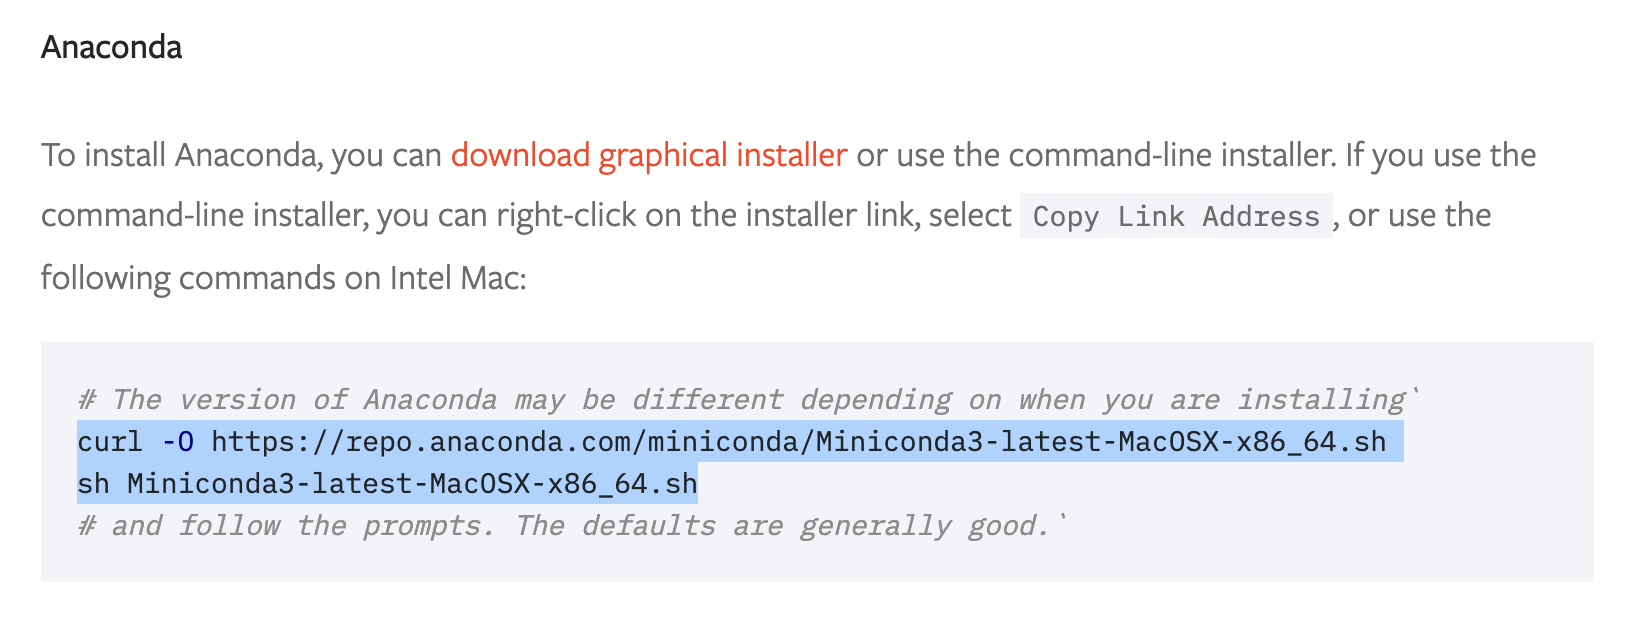
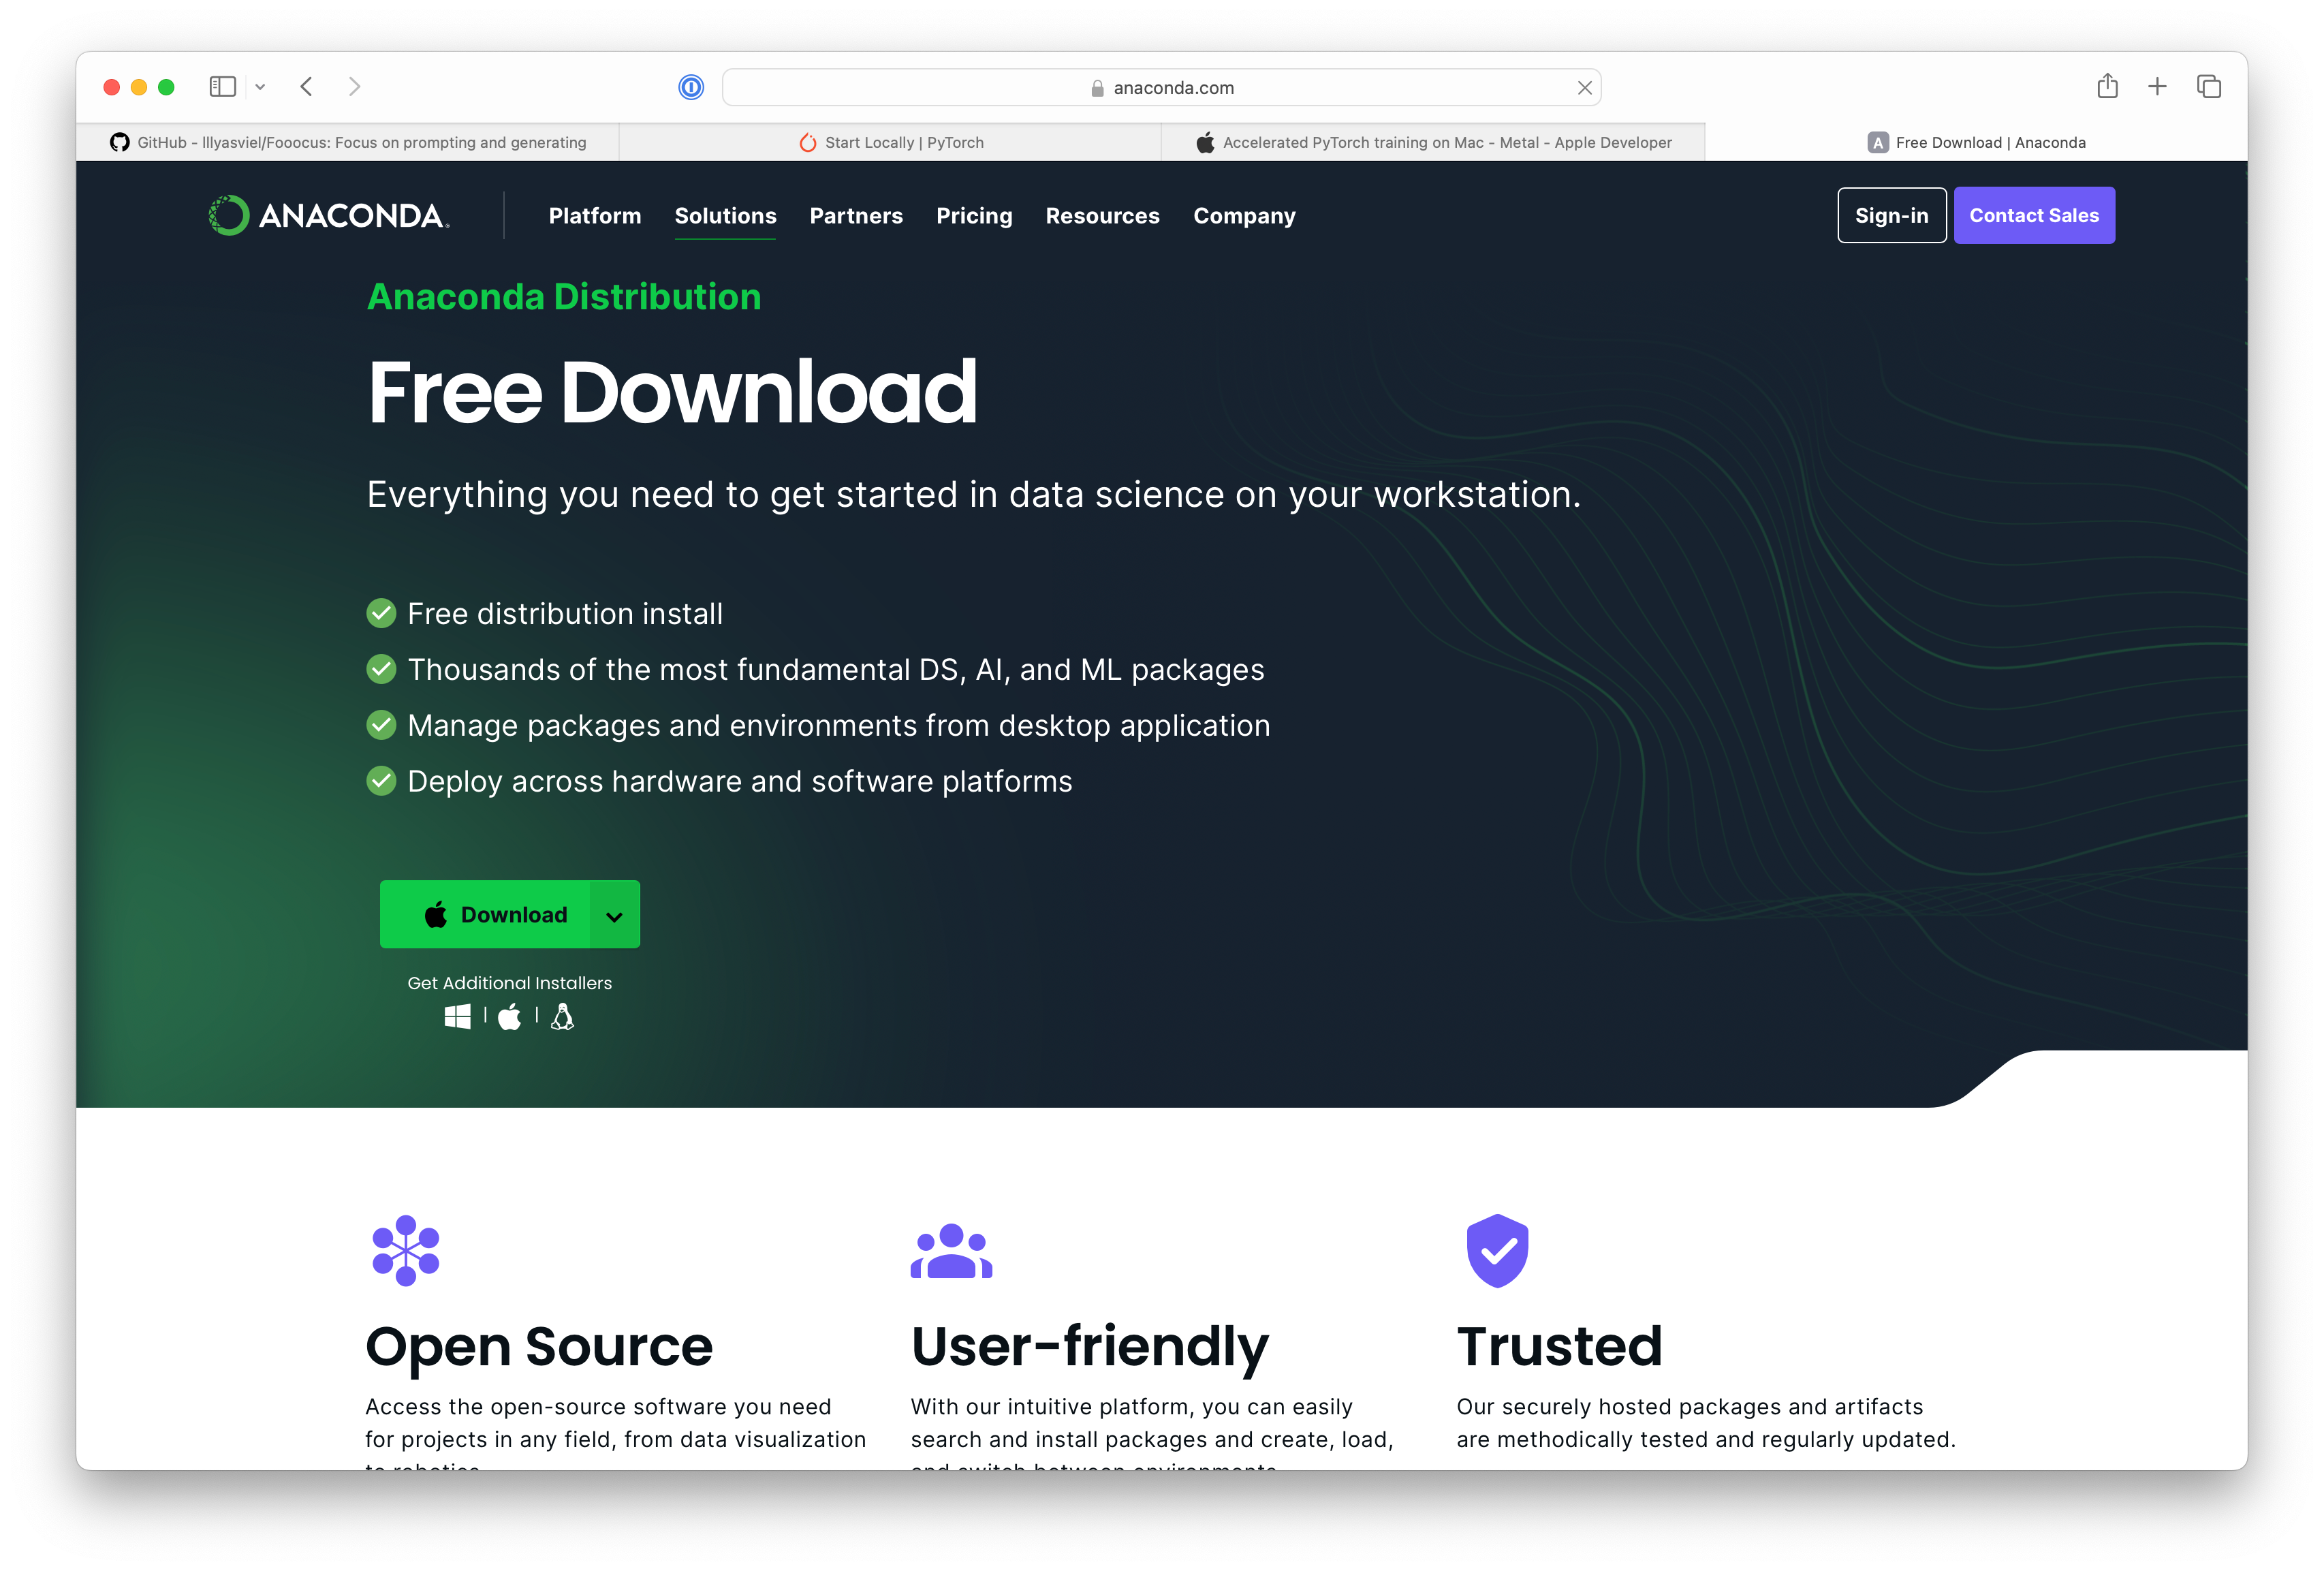
There’s a graphical downloader too which might be easier for folks — go here.
If you’re doing it via command-line then you’ll want to boot up “Terminal” and copy and paste the above code. This will install the latest version of “Miniconda3” locally on your Mac.
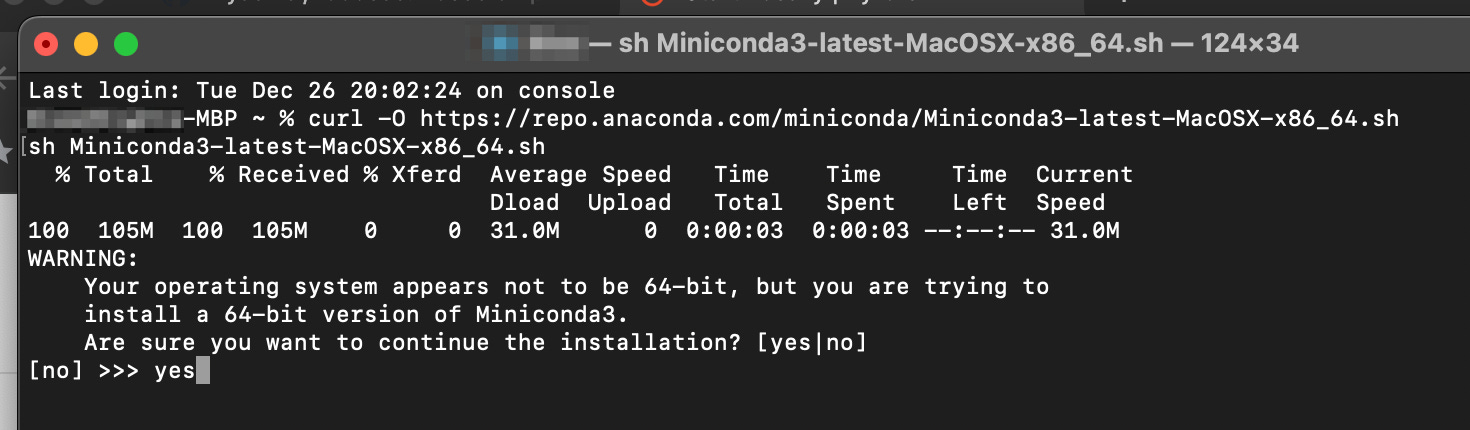
You’ll go through a few prompts (just type “yes”) and you’ll work through the installer.
Next, you’ll need to install a Developer Tool for Mac, more specifically XCode. You can find this directly on the Mac App Store:
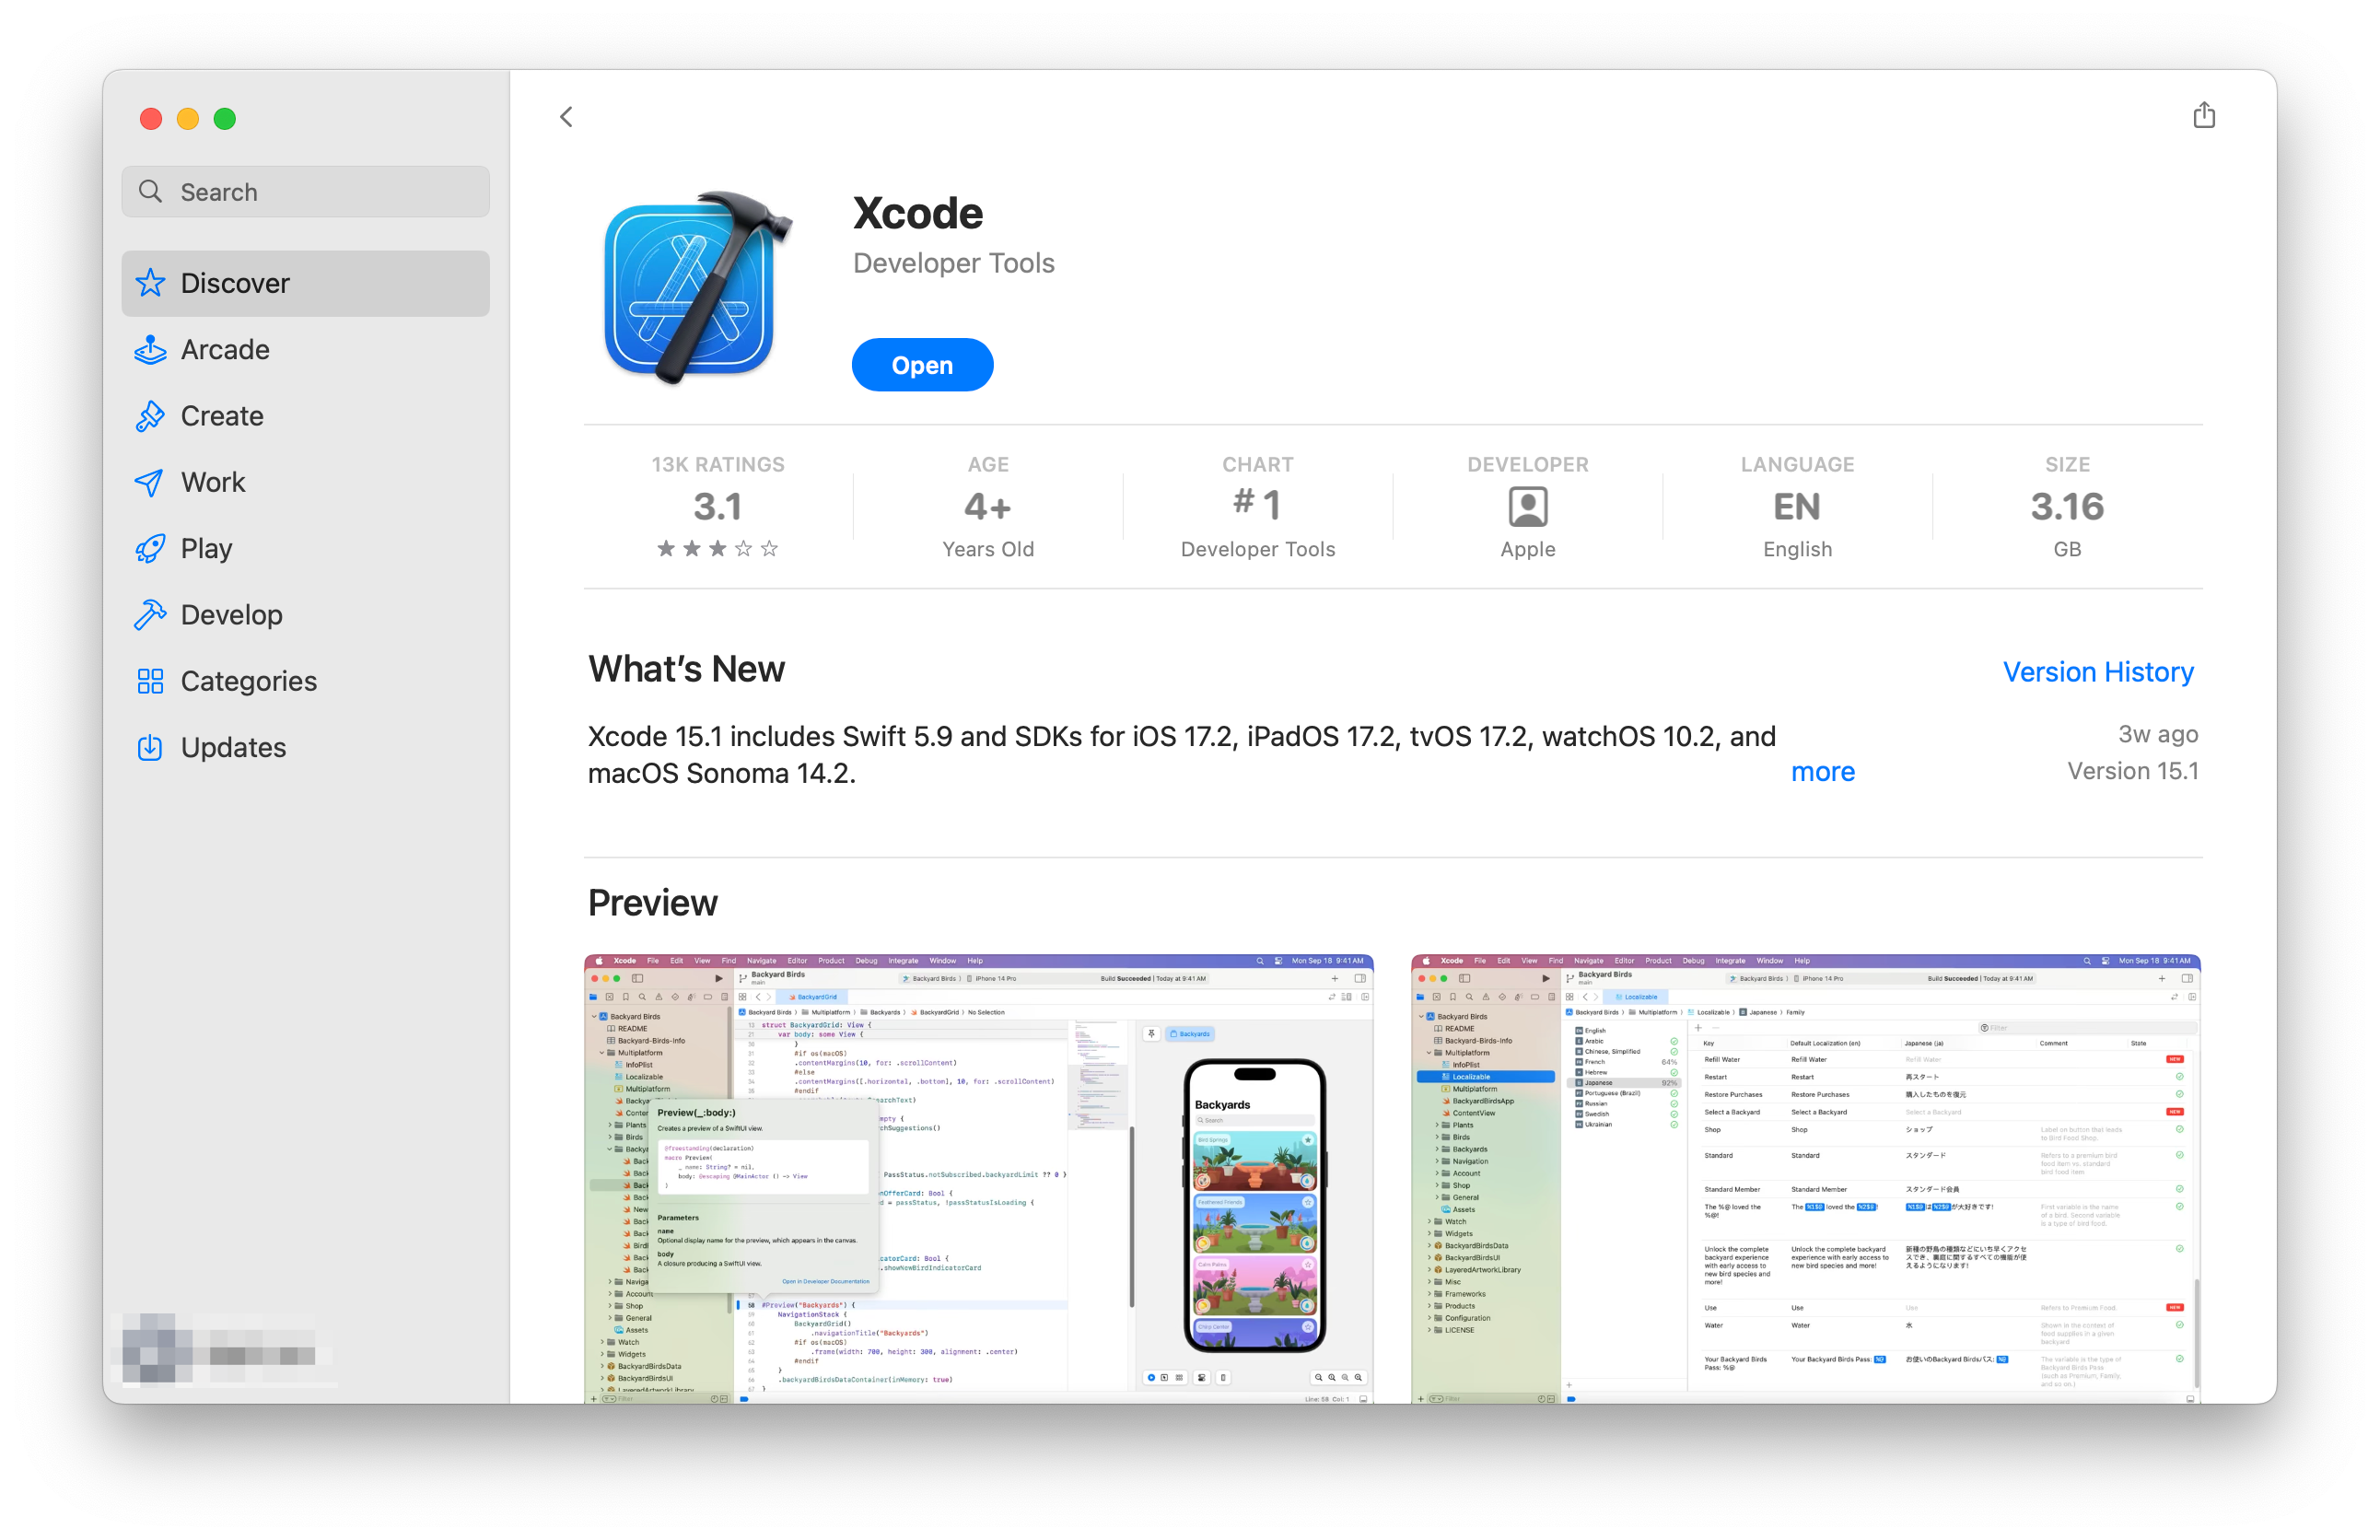
It’s not a small app so it may take a bit of time to download. Take a small break, stand up, get a drink of water, and relax! Staying hydrated is really important!
When that is done you’ll need to enable Xcode command-line tools:
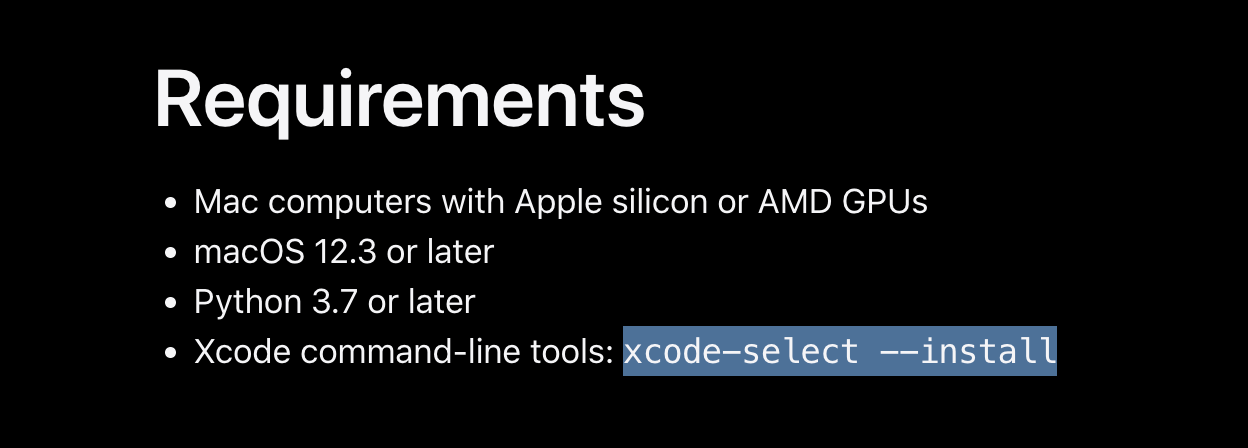
You’ll do this via Terminal again like so:
xcode-select —install
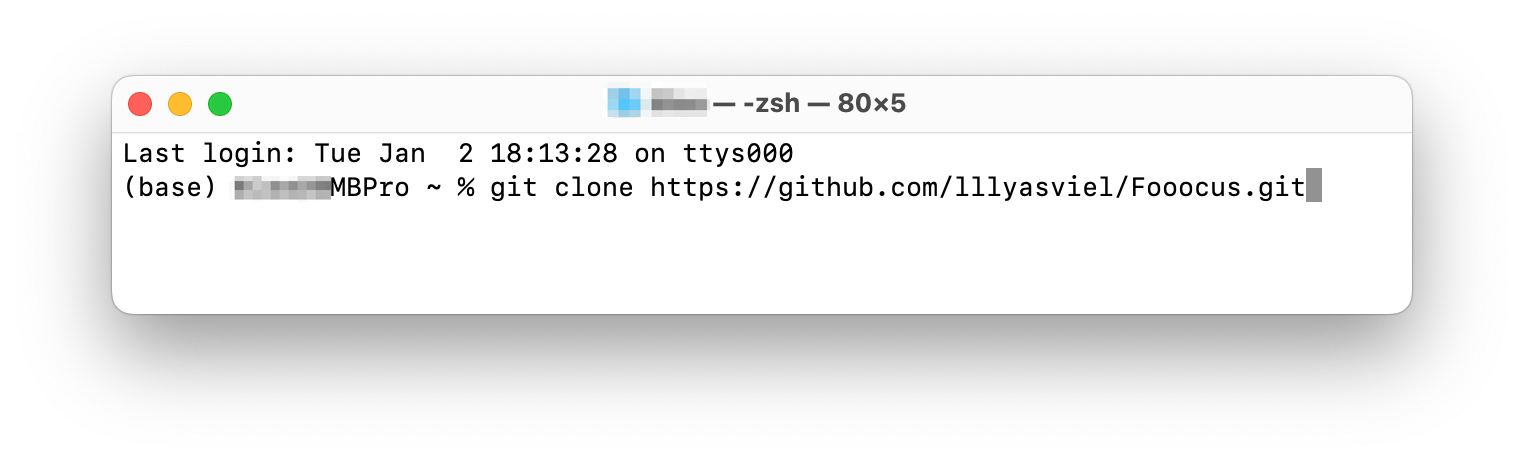
Let’s keep going! Now, we’ll install Fooocus into a new directory on your local box so you can get all the power of Stable Diffusion XL on your mac! Through the Terminal you’ll clone the repository:
git clone https://github.com/lllyasviel/Fooocus.git
It should look like this:
This command will create a new folder off the root called “Fooocus”:
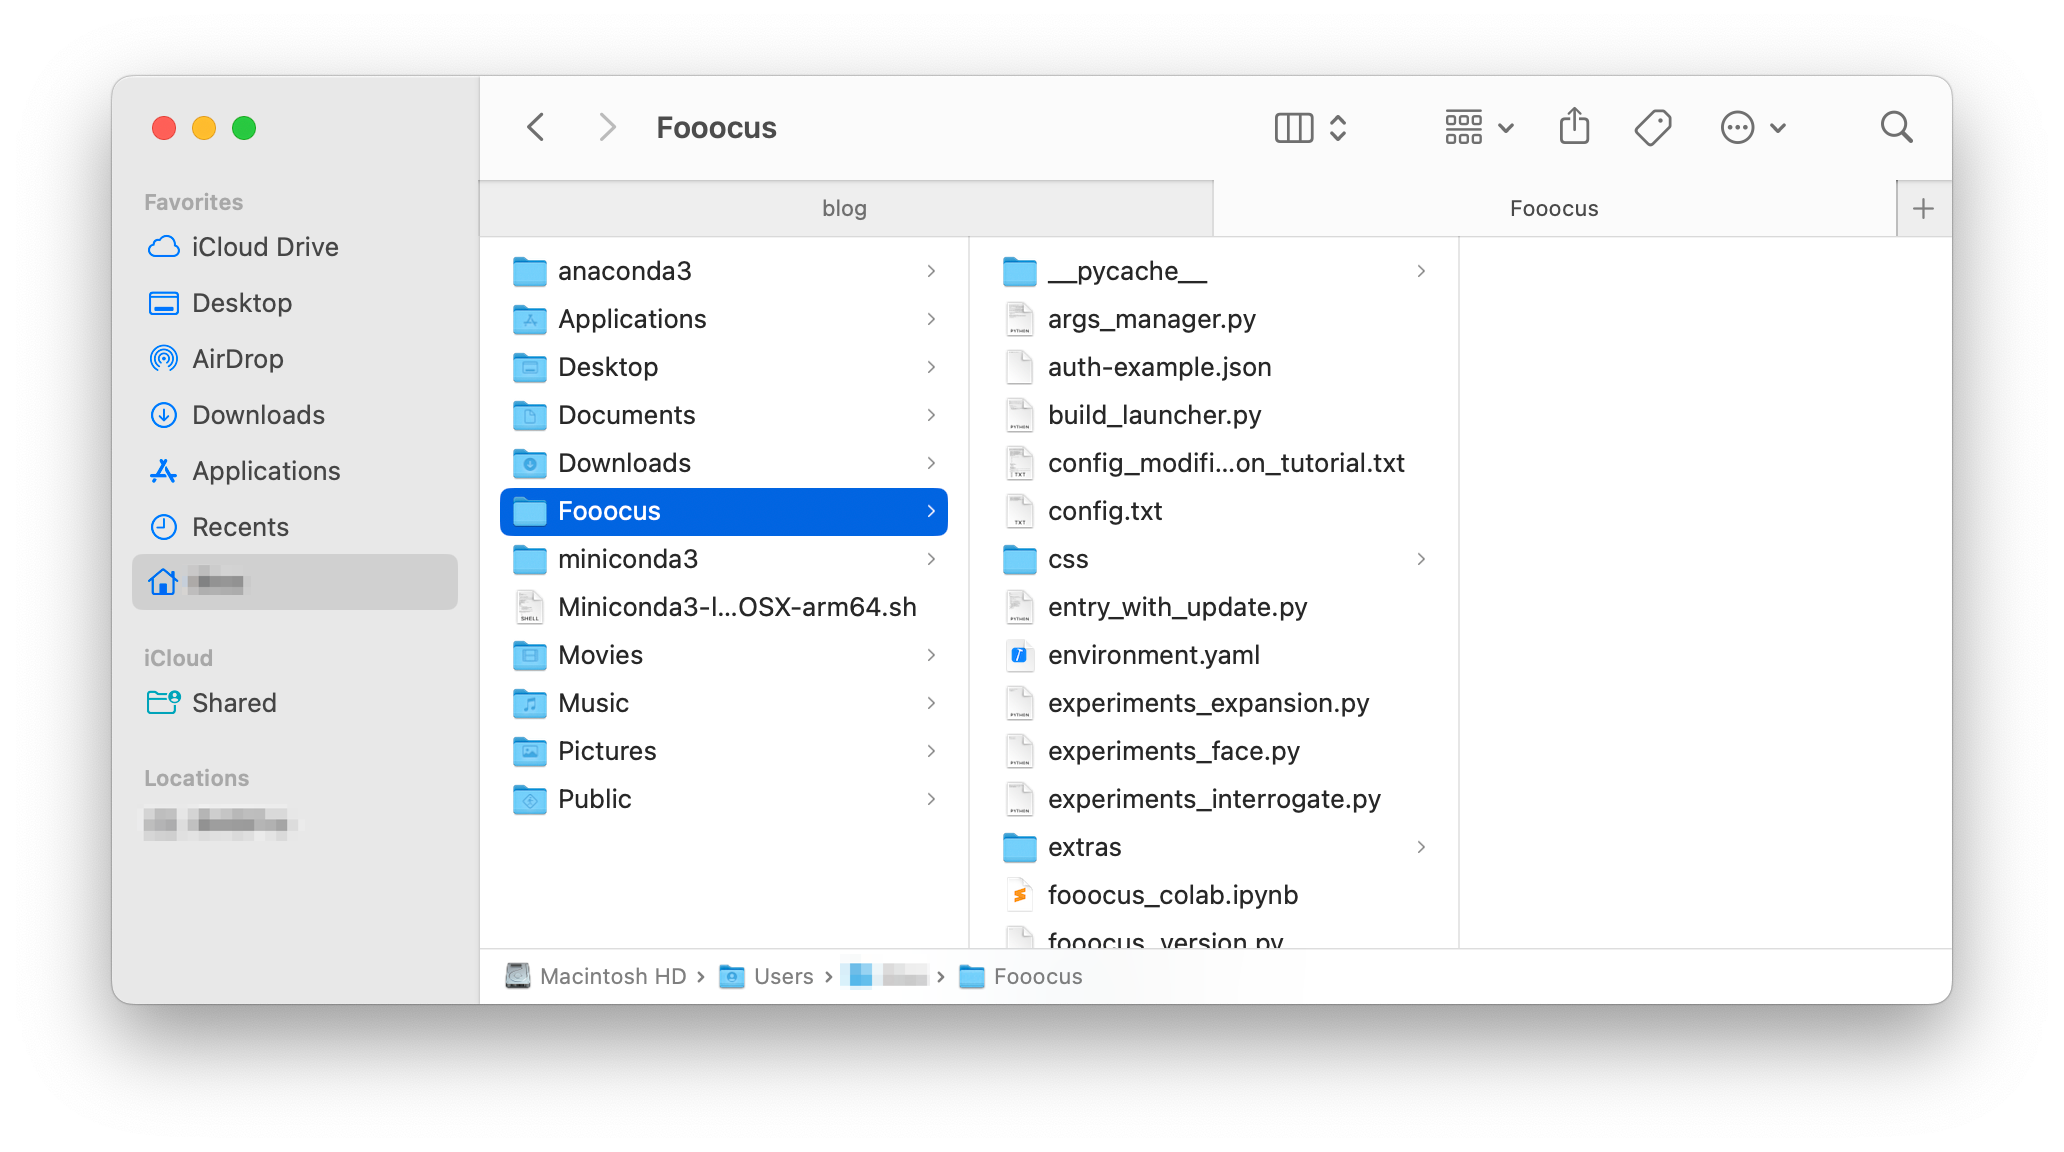
We have pretty much all the external components now. You’re doing great! A few more command-line inputs and you’re home free. First, make sure you’re doing all of the next commands in the “Fooocus” folder — you can navigate there by typing:
cd Fooocus
You can check if you’re in the right spot via the Terminal) by typing “ls”:
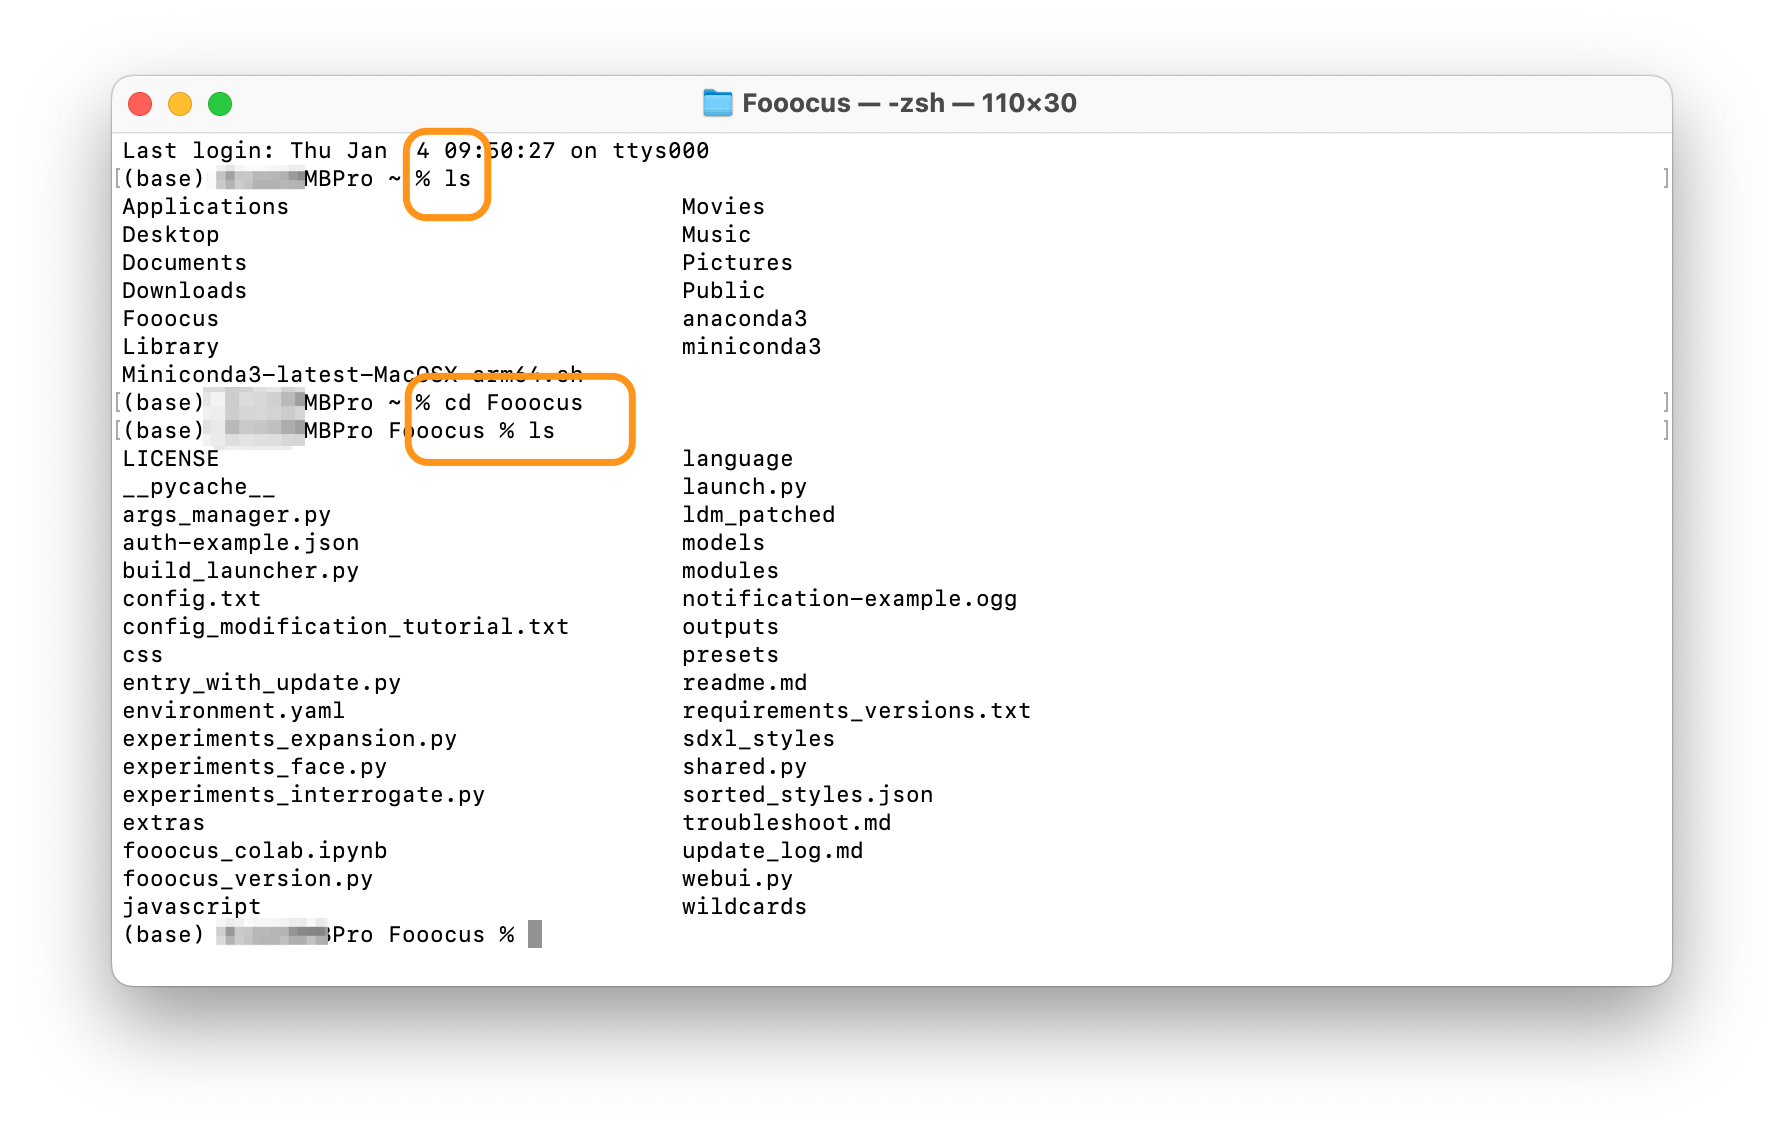
Above you can see I typed “ls” to see where I was and you see the “Fooocus” folder below. I then typed “cd Fooocus” and then “ls” again to see the contents of that directory which should seem familiar in your MacOS Finder view.
We’ll now create a new “Conda Environment” on your Mac by typing:
conda env create -f environment.yaml
It should look like this and it may require a few more updates — just keep typing in “yes” and review the Terms of Service by hitting “Return” on your keyboard (and holding it down if you’d like):
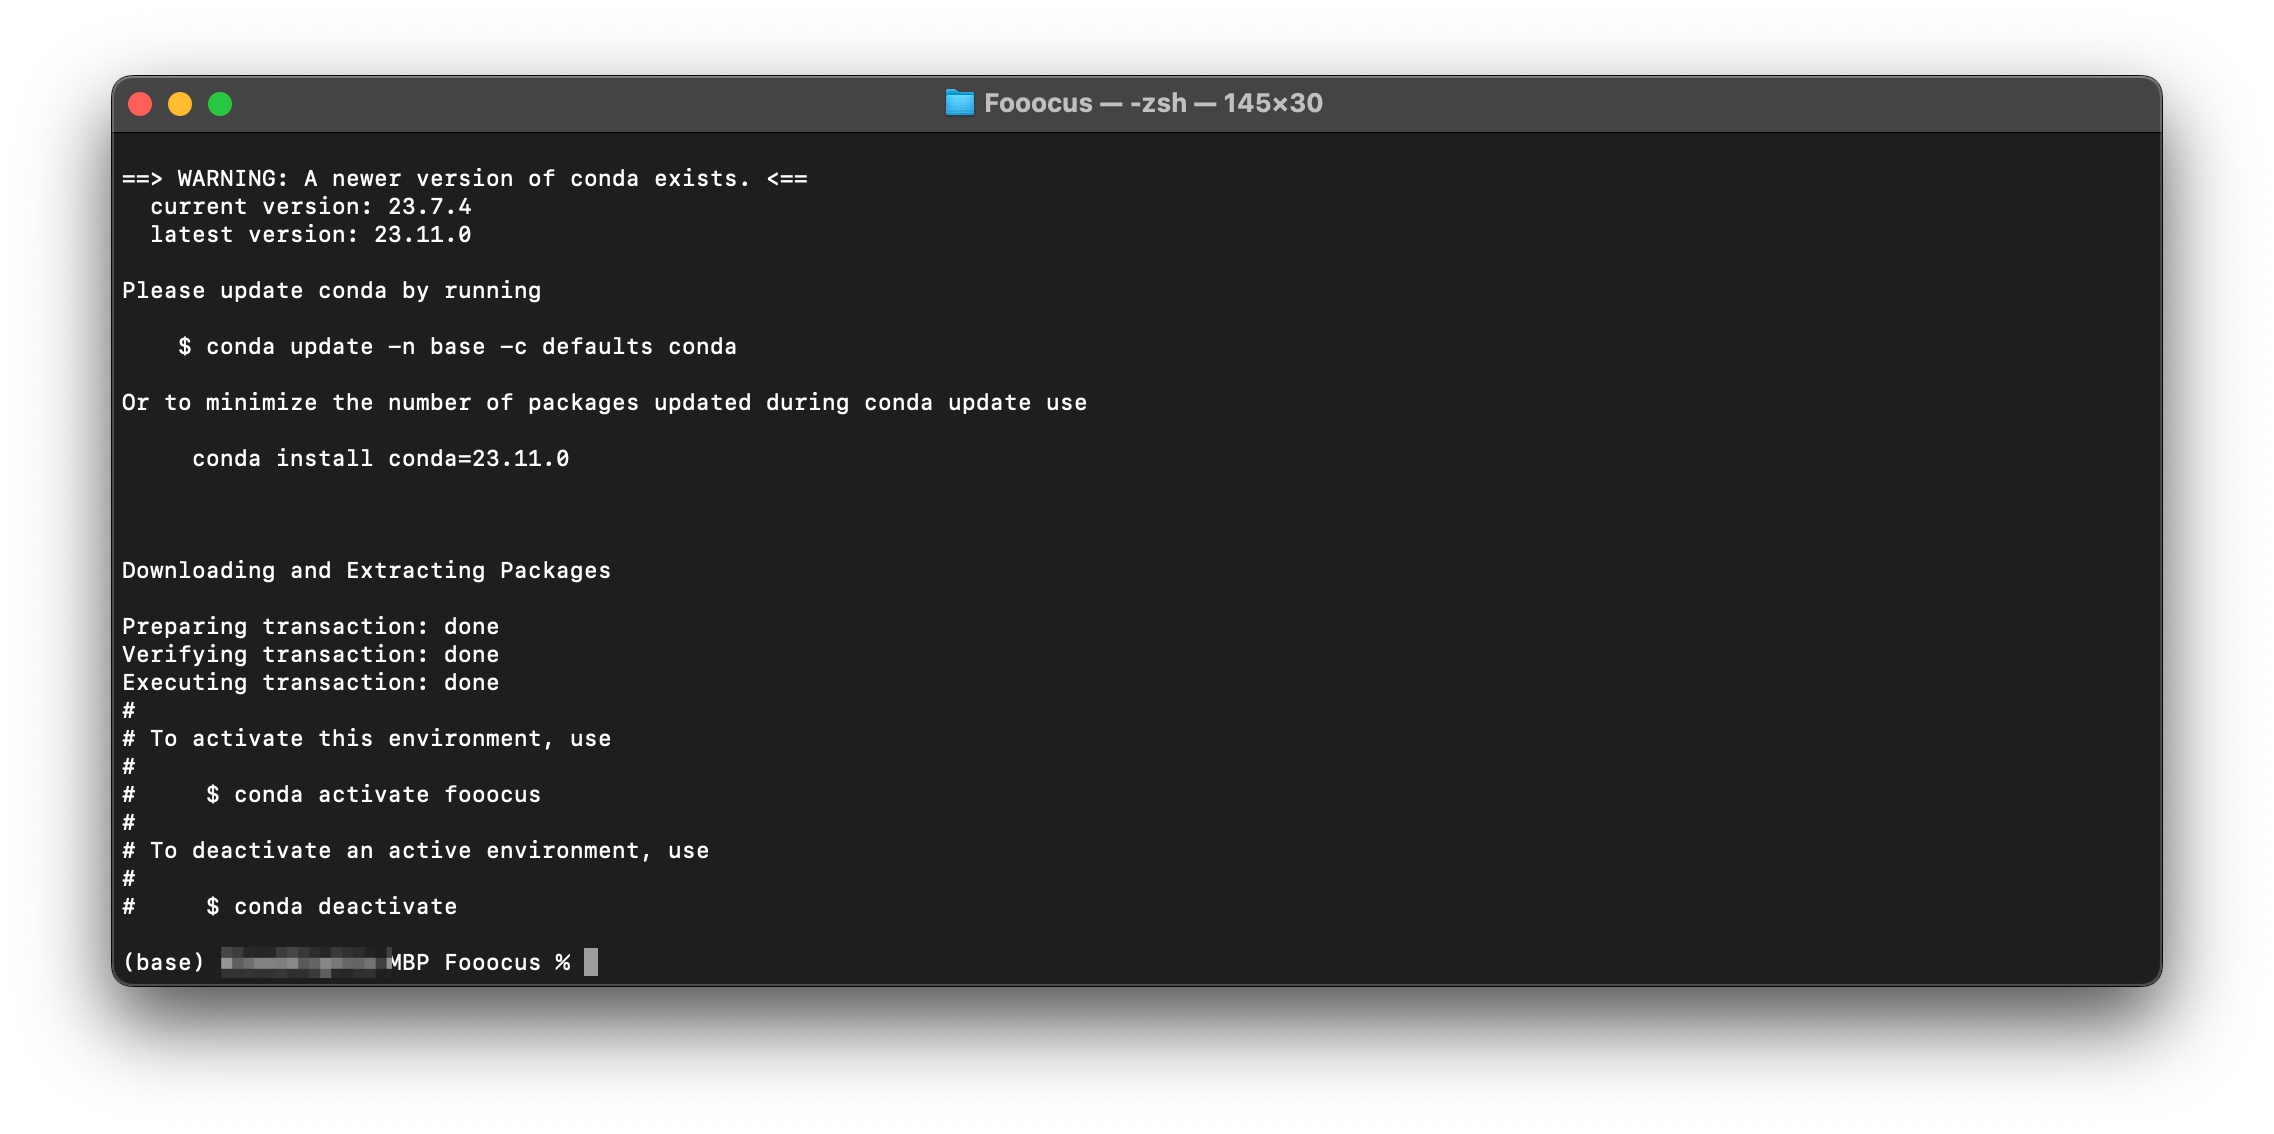
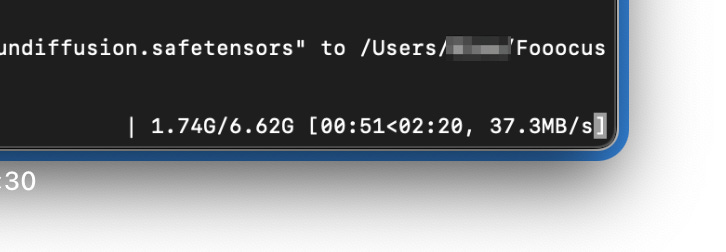
It’ll download what it needs to download to give you the most updated software:
Some of these packages are large so feel free to get more water if you need! 💦
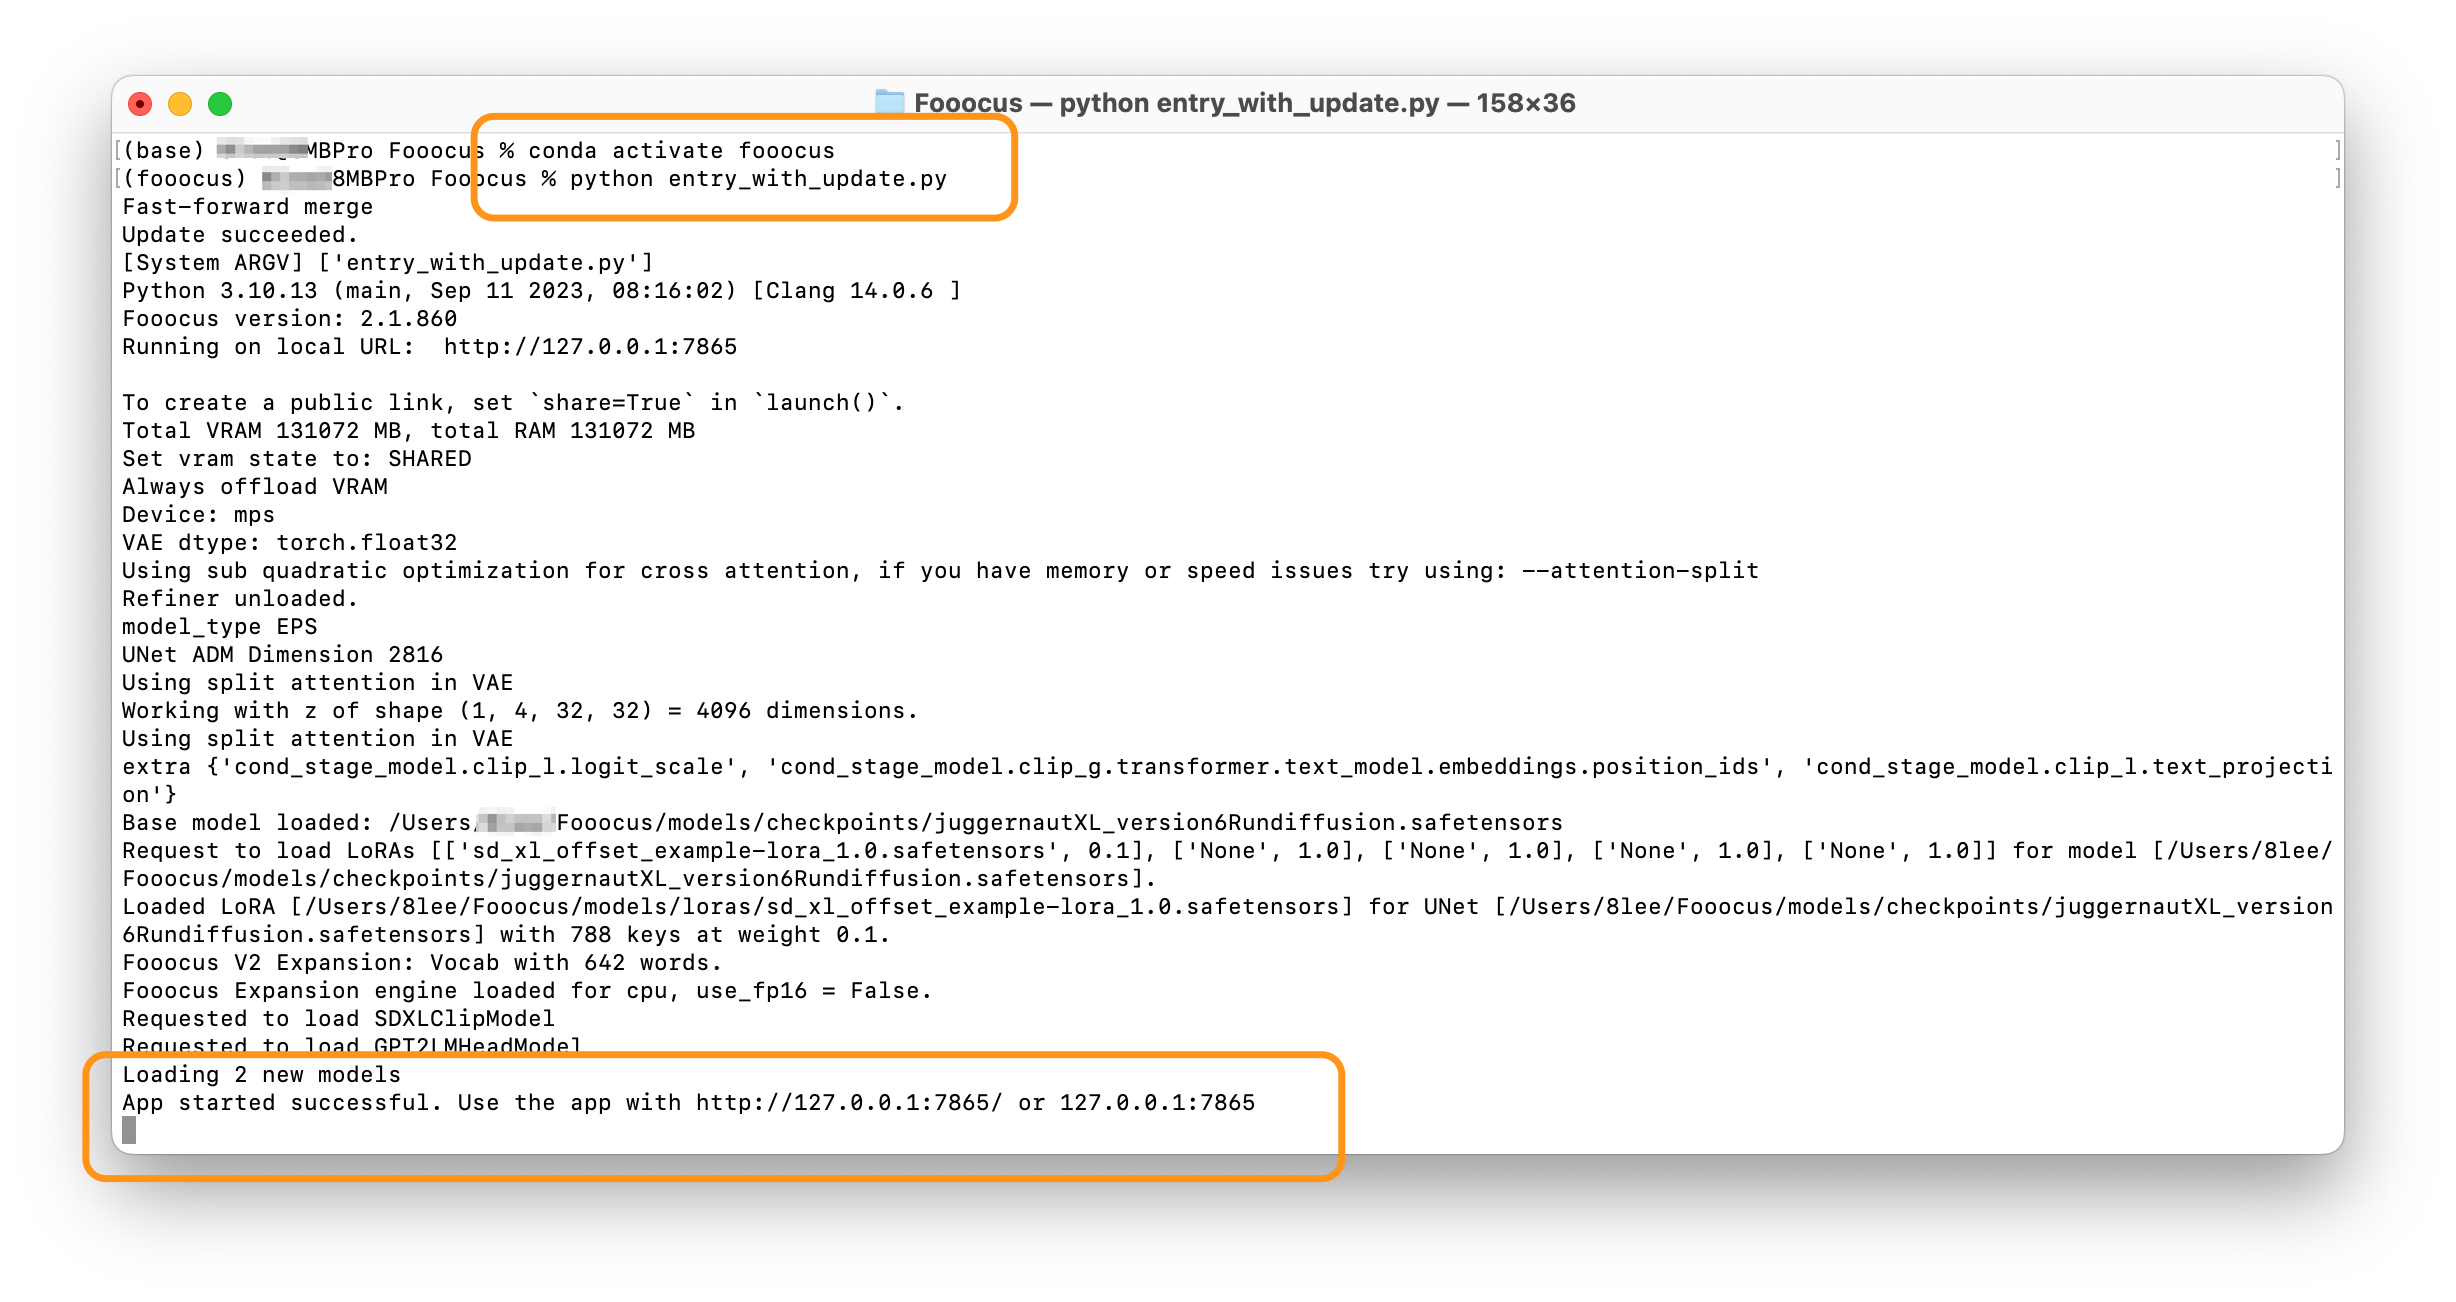
Once this is all done it’s time to activate the new environment:
conda activate fooocus
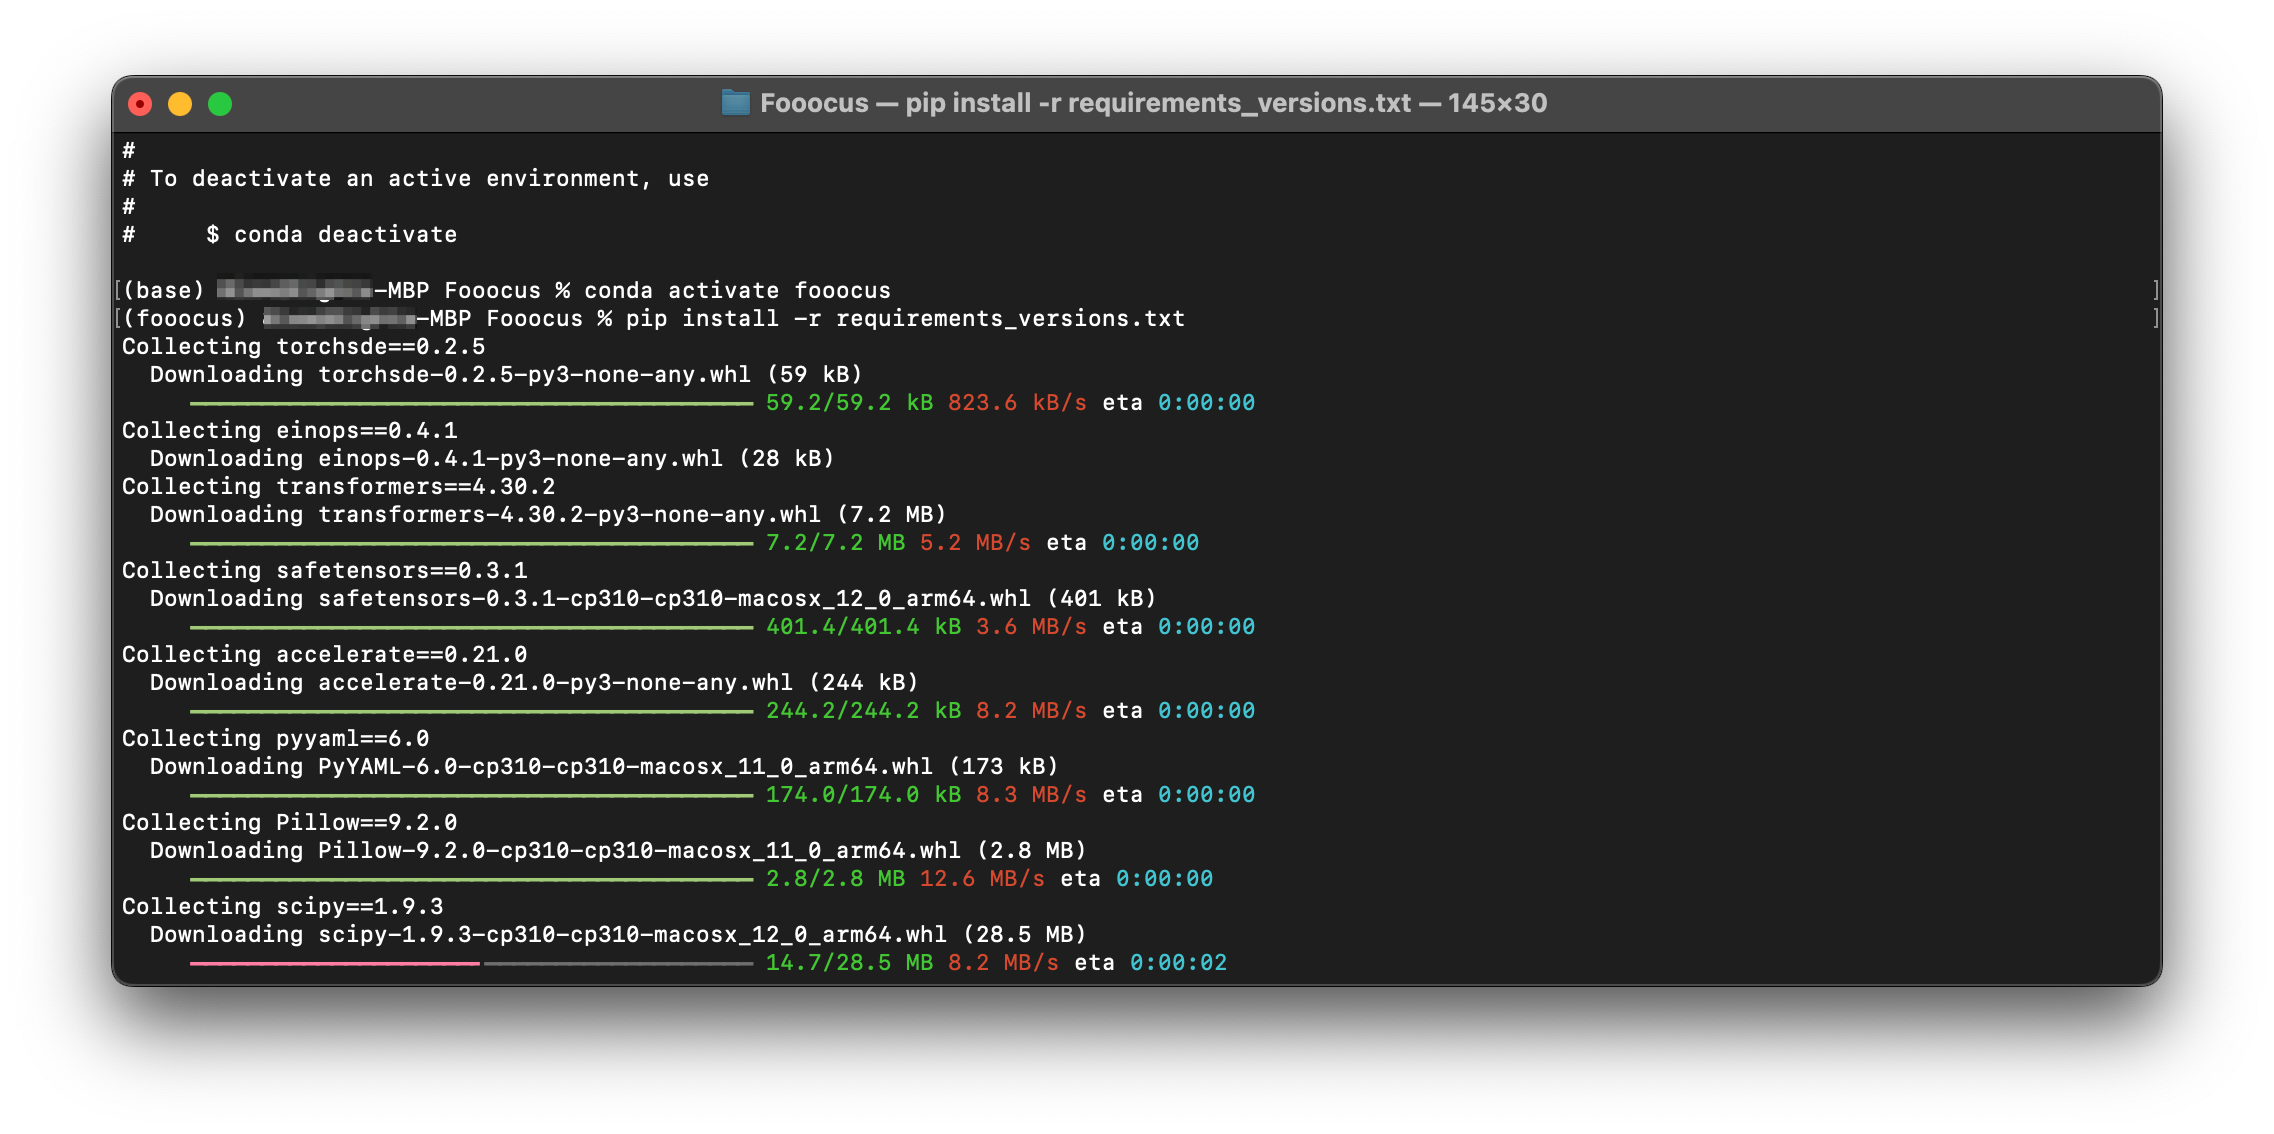
And then install any of the final packages that Fooocus needs to operate:
pip install -r requirements_versions.txt
Enjoy the (installation) show!

When that’s all done you should be able to launch Fooocus and start building! One more command-line prompt and you’re good to go:
python entry_with_update.py
It should look like this in your Terminal:
If that works it’ll open a new browser window and will show you the beautiful UI:
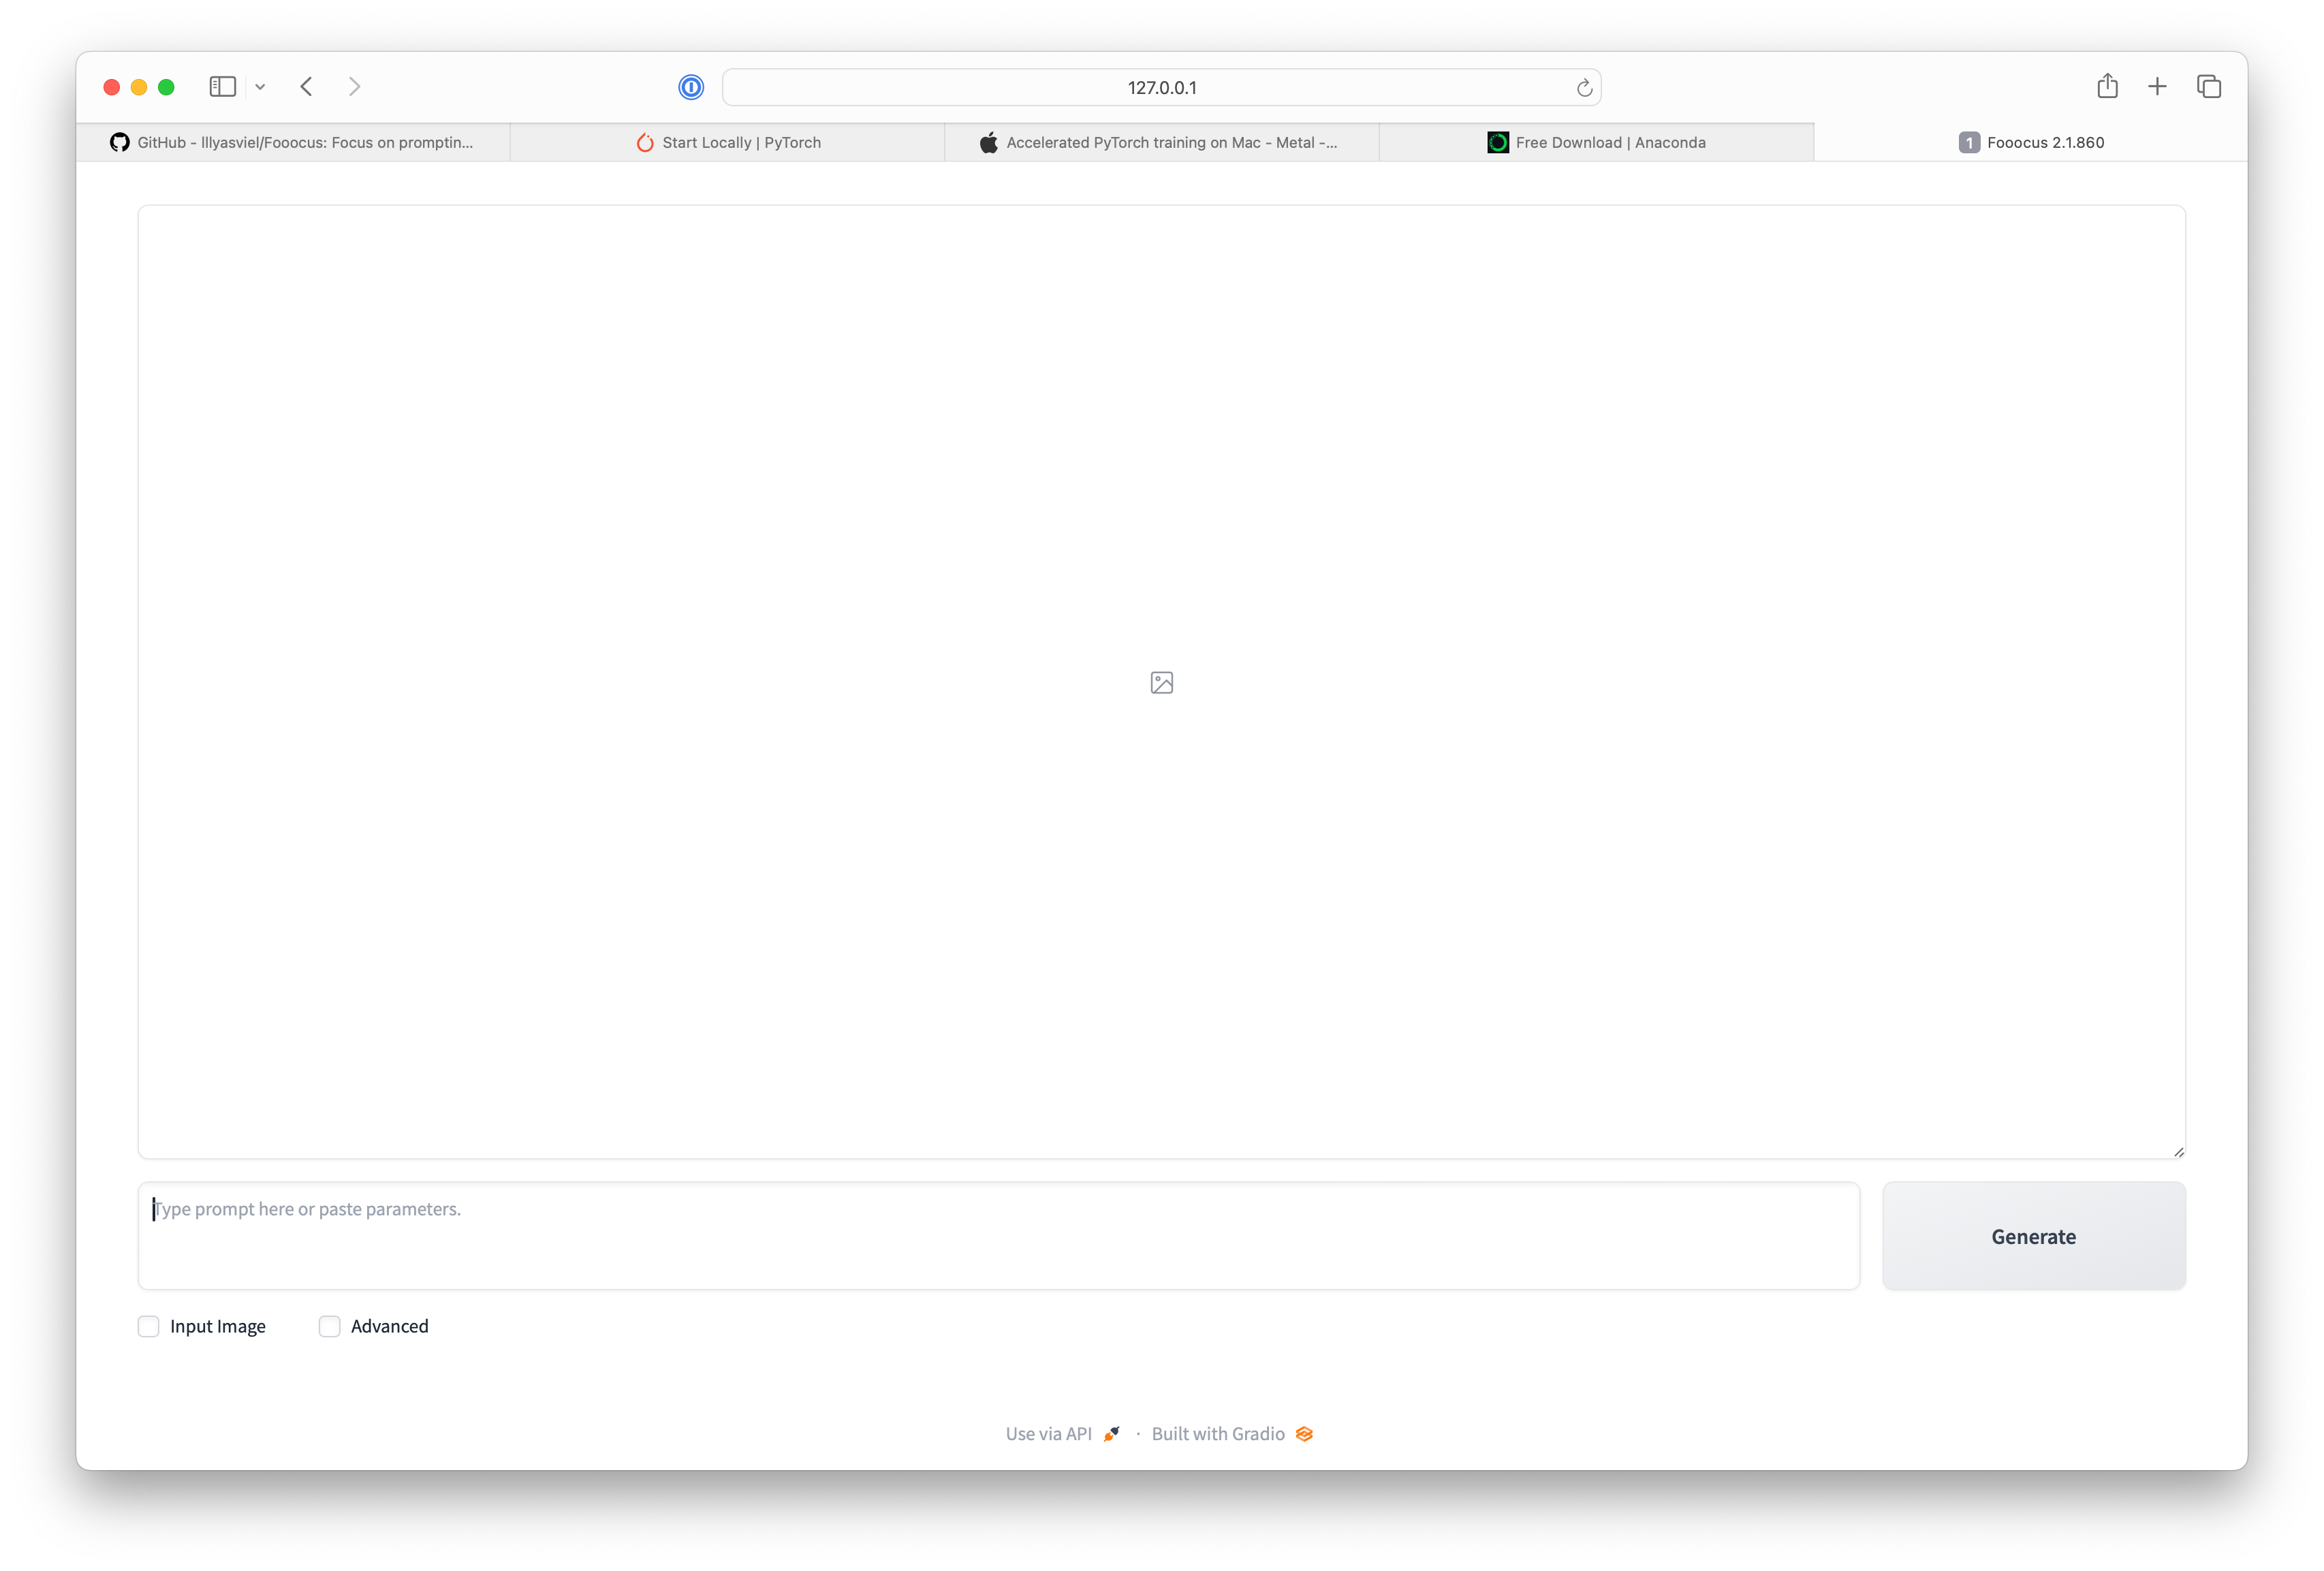
You have now successfully installed Stable Diffusion XL on your Mac! You can create an infinite number of work for free! There are quite a few options (click the “Advanced” button at the bottom) so take your time to learn the features.
For instance, I designed a few fun examples of me in “Lord of the Rings” style garb (or Game of Thrones?) as one of my first tests:

Here are the outputs:


Please let me know if you have any questions or issues (via the comments) and I’ll try my best to help you troubleshoot! Good luck and have fun!
And if this was useful please share this with others! ✌(-‿-)✌
— Summer


Hey, great write up. thanks
How can we do live stream diffusion from a camera with this?
Thanks for the great tutorial. I succeeded in installing it, and it works. The only thing I miss here is system requirements. I have a M2 Mac with 8 GB memory, it takes almost 2 hours to create 2 small images. If this can't be improved I'm going to delete it.